Wednesday, April 29, 2015

Food Storage & Prepping in Advance

A few friends have asked me to share with you all how I prep meals in advance and how I store our food for the week. If you know me at all by now, you know a few important things.

I love good food
 I love saving money
 I can rarely finish a full portion when dining out
 I hate wasting money
So maybe you didn't know the third thing on that list, but it's very true. It's rare that I leave a restaurant without a to-go box in hand. There are two main reasons for this, one being that restaurant portions are generally huge, and the other being that if I have paid for a meal, I am not about to let it go to waste. With the same mentality, I hate throwing out groceries that have gone bad due to poor planning. Of course it happens from time to time, but I try really hard to make sure we use up our groceries before they pass their prime.
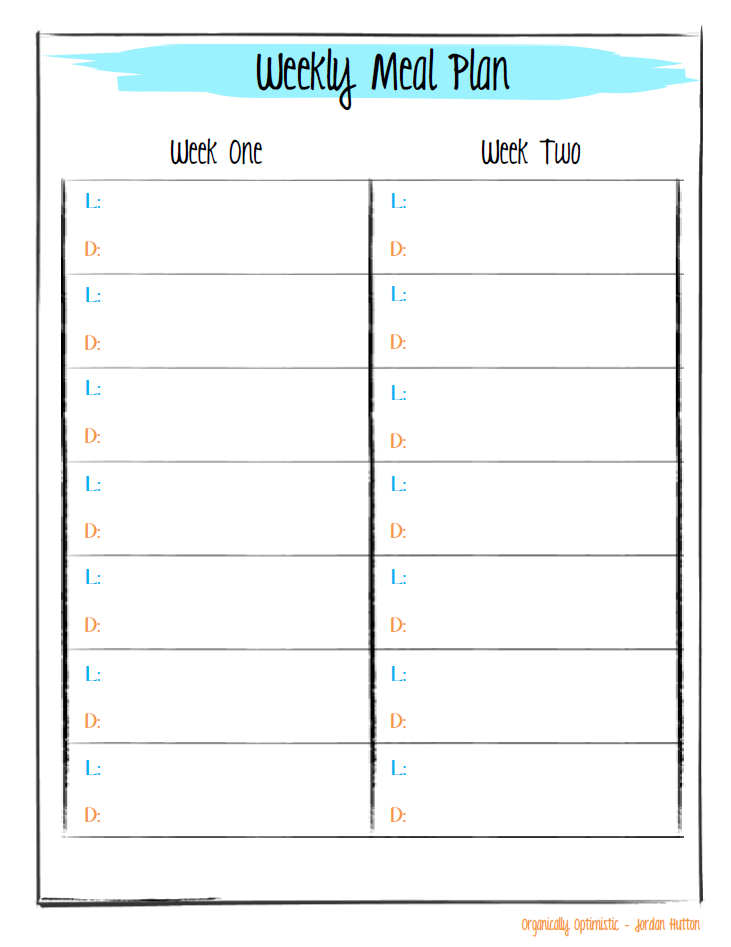

There are three things I do to try and aid with this effort. The first key is meal planning. I try to plan our meals at least a week in advance, and only buy the fresh ingredients needed for those meals. When I say fresh ingredients, I'm referring to things like fruits, veggies, dairy, cheeses, bread, and meats that need to be used up within a shorter time frame. We also try to keep a back up supply of meats and veggies in our freezer the we rotate through as well. There are certain staples that we like to keep on hand in our pantry to help round out these meals or stretch our budget that have a longer shelf life. These items include things like whole wheat pasta, brown rice, quinoa, salsa, crackers, onions, potatoes, spices, etc.


The second key to utilizing our groceries effectively is prepping meals in advance. Being that we both take our lunches to work each day, we try to save time and create less mess by prepping multiple meals at a time. At the beginning of the week I will prep somewhere between 4-8 meals to be used throughout the week. I will cook a large batch of rice or quinoa, veggies and chicken or fish. I portion each meal into its own container so they are ready to go. While these items are cooking, I take the time to chop raw veggies and slice fruits to snack on throughout the week also. This makes it super simple to grab a pre-packed meal, a piece of fruit and a bottle of water on our way out the door. No last minute panic about what to make and no resorting to fast food due to running out of time in the morning. Not only does this method of cooking save time and cleanup each day, but it also saves energy by not heating our oven or stove top time and time again, as well as money saved from not hitting the drive through or throwing cash in the trash with wasted groceries.
My last, but definitely not least important, tip to making the most out of your food is to store your foods (raw or prepared) in quality containers. We personally use the Snapware glass containers shown below. We prefer glass for a few different reasons. They are stain-proofs, oven-safe, microwave-safe, freezer-safe, oven-safe and dishwasher-safe. They are also BPA free, made in the USA and have airtight and leak-proof lids. Buying each one separately is pretty pricey, but we purchased these sets for $21 each at Costco. They go on sale there about once every 6 months. At that price, we are talking about each container costing just over $2.33, where Target sells the small rectangular ones with the turquoise lids (top left corner) for $7.99 each. No brainer. Whether you are using glass or plastic, I highly recommend using clear ones. The reason for this is simple - if you can see the food inside, it's less likely to get pushed to the back of the fridge and forgotten about.

But how long should you store your foods? I like these charts as a reference for food storage and what the best form of storage is to get the most out of your hard earned dollars.


What other topics would you guys like to cover? Is there a certain task in the kitchen that is constantly standing in your way? 

Tuesday, April 28, 2015

Recipe: Freezer Pesto

Summer gardening is just round the corner and I love using basil. It adds delicious flavor to Tomato Basil Bisque, is great in lemonade or cocktails, and shines as the star it is in this delectable pesto.

You will need a food processor for this recipe, but its SO simple and delicious. This recipe will yield you two half-pint jars. They are able to be kept in the fridge for up to two months, so I throw one in the fridge and the other in the freezer, where it will stay good for up to 2 years. Pesto is a great topping for grilled chicken on veggies, as a base for homemade pizza, and as a sauce for whole wheat pasta. The Parmesan cheese prevents this from being Whole30, but the ratio of cheese to healthy fats provided by the pine nuts and olive oil isn't something I am going to stress out about.


Freezer Pesto

Ingredients:                                                                       
1 cup pine nuts
4 cups fresh basil, stems removed and firmly packed
2 cloves garlic, crushed
1 cup grated Parmesan cheese
1 cup, plus 1 Tbs., extra virgin olive oil

1. Toast the pine nuts in a 400 degree oven for 3-4 minutes, or just until golden.
2. Puree the pine nuts, basil and garlic in a food processor until smooth. 
3. Add the grated Parmesan, blend just to combine. 
4. Slowly pour the olive oil in through the top of the processor while it is running in a slow, steady stream. 
5. Scrape down the bowl to insure everything is well combined, then portion into jars that are freezer safe. Leave a 1/2" of headspace between the top of the jar and the level of the pesto. pour 1.5 tsp. of olive oil onto the surface and then top with freezer safe lids, label, date, and freeze for up to two years.

Monday, April 27, 2015

Recipe: Tomato Basil Bisque

This recipe is one that I love for many reasons. First of all, it's delicious. Secondly, it's freezer friendly, simple to make in bulk batches, and relatively easy. Can it get any better than that?


Tomato Basil Bisque

Ingredients:                                                                       
1 onion                                                            48 oz. Fire Roasted Tomatoes
3 cloves garlic                                                             (Two large cans)
Olive oil                                                           ½ cup basil
Black Pepper                                                   ¼ cup cream

1. Chop the onion and garlic, sautee over medium heat with a little olive oil until they take on a little bit of char.
2. Add the two cans of died tomatoes. Fire roasted gives the best flavor, but regular diced tomatoes will also work. Place a lid on the pot and simmer for about 45 minutes.
3. Add some freshly cracked black pepper and taste, adding more if need be. Remove the soup from the stove and blend until smooth using an immersion blender or regular blender.
4. Add the basil and blend just to combine. Add the cream and blend until smooth.

This can also be made Whole30 compliant by simply omitting the cream. I prefer the small touch of cream here because it tones down the acidity of the tomatoes significantly. Depending on your needs, freezing this soup can be done a few different ways. It can be frozen in freezer safe half-pint glass jars for individual servings, or frozen in larger, family-sized portions as well. I use our Snapware brand of glass storage containers more times than not. They stack well in my freezer and can be easily transferred to the fridge when planning to use in the following few days. Refrigerate for up to 5 days, or freeze for up to 6 months.

Printable Version 

Tuesday, April 21, 2015

Falling Behind and Catching Up

It's been far too long since I have posted anything here, and boy am I ready to be back at it. The past two weeks have been very busy for us, and with that we did what most people do... fell off the band wagon. With work, an upcoming bridal shower AND a class reunion taking place, life got hectic, but that's not a good excuse. We are feeling less energetic and not sleeping near as well as we had been, so it's time to buckle down and focus.

With all of that said, I wanted to let you all know where our intentions lie long term. We don't plan to eat Whole30 all the time, but we do hope to keep to a clean, quality diet that is primarily Whole30 approved. For us, this means a meal high in protein, veggies and fruits, with the occasional side of quinoa. Or a salad that may have added croutons every now and then. Or a soup that only contains a small portion of dairy, but is otherwise compliant.

We will eat out, we will eat things like chips, pizza and pastas, but we don't plan to have those kinds of items each week, let alone each day. Personally, I struggled for a while of how I wanted to balance things out. I loved the impact and effects Whole30 had on me, but I know that there are other things in life that I enjoy also. And while I don't want to stray far from the guidelines of the program, mainly because of how good it makes me feel, I do believe that life is too short to banish ice cream forever. Everything in moderation... that's my motto moving forward.

After a crazy couple weeks, I spent today prepping meals that we could enjoy and feel good about for this coming week. There's a whole chicken in the crockpot as I type, I made a batch of Tomato Basil Soup earlier, and we've planned out some tasty sides and salads to accompany all that chicken this week also. I'm wanting to share a few more recipes this week that can be made in advance and either frozen for later use or have a longer life in the fridge. Those with busy lives will appreciate the once-a-week cooking approach, or at least I hope so.


Wednesday, April 8, 2015

Recipe: General Tso Chicken

I know what you're thinking... there's no way that you can make something like Chinese takeout into a Whole30 meal and it taste the same. I was skeptical too, but this one is a really great version that gives you that something different in your life when you've had one too many roasted veggies and two too many pieces of fish or chicken breast this week.

The recipe I based this from was one I found on Pinterest by Katrina Runs For Food. Her version included a bed of rice or cauliflower rice, but to be honest, I felt that was one too many laborious steps at the time, so I went without.  I also adjusted the ratios of broccoli, chicken and some spices to better suit my tastes.


General Tso Chicken

Total Time:  30 minutes                     Serves:   3

Ingredients:                                                                 
  3/4 lb of chicken tenderloins, cubed                     3 Tablespoons of coconut aminos
  1/2 cup of diced onion                                          1 tsp. Arrowroot Powder
  2 Tablespoons of olive oil                                    4 cups of broccoli florets
  3 teaspoons of crushed red pepper flakes             2 green onions/scallions sliced
  5 cloves of garlic
  1/4 cup of Orange juice

  1.  Preheat a large skillet over medium heat. Add oil, red pepper flakes, and cloves of crushed garlic. Swirl to combine. 
  2. Add cubed chicken and onion, cook through about 7-8 minutes. Do NOT let the heat get about medium setting or garlic and pepper flakes will scorch, so be sure to stir occasionally as well. Once cooked through, remove everything from the pan and set aside. 
  3. Add broccoli and 1/4 cup of water to the pan. Place a lid on and let cook until crisp yet tender. While the broccoli cooks, measure the arrowroot powder and place in a small bowl to the side. 
  4. Remove broccoli from heat and divide among the serving bowls.
  5. Return chicken to the pan. Add orange juice, coconut aminos, and half of the green onions. 
  6. Bring the mixture to a simmer, then scoop a few tablespoons of the hot liquid into the bowl of arrowroot powder. Whisk until no clumps remain, then stir into the pot. This helps the sauce thicken. 
  7. Remove from the heat and serve over broccoli. Top with remaining green onions.
Printable Version